Webage JupyterHub
IMPORTANT: JupyterHub and GitLab instance for webage are not longer available. The text of this page has been kept for archival purposes.
Previous Access Instructions
JupyterHub is a system to host Jupyter instances for many users. It provides a multi-user Hub that spawns, manages, and proxies multiple instances of single-user Jupyter notebook servers.
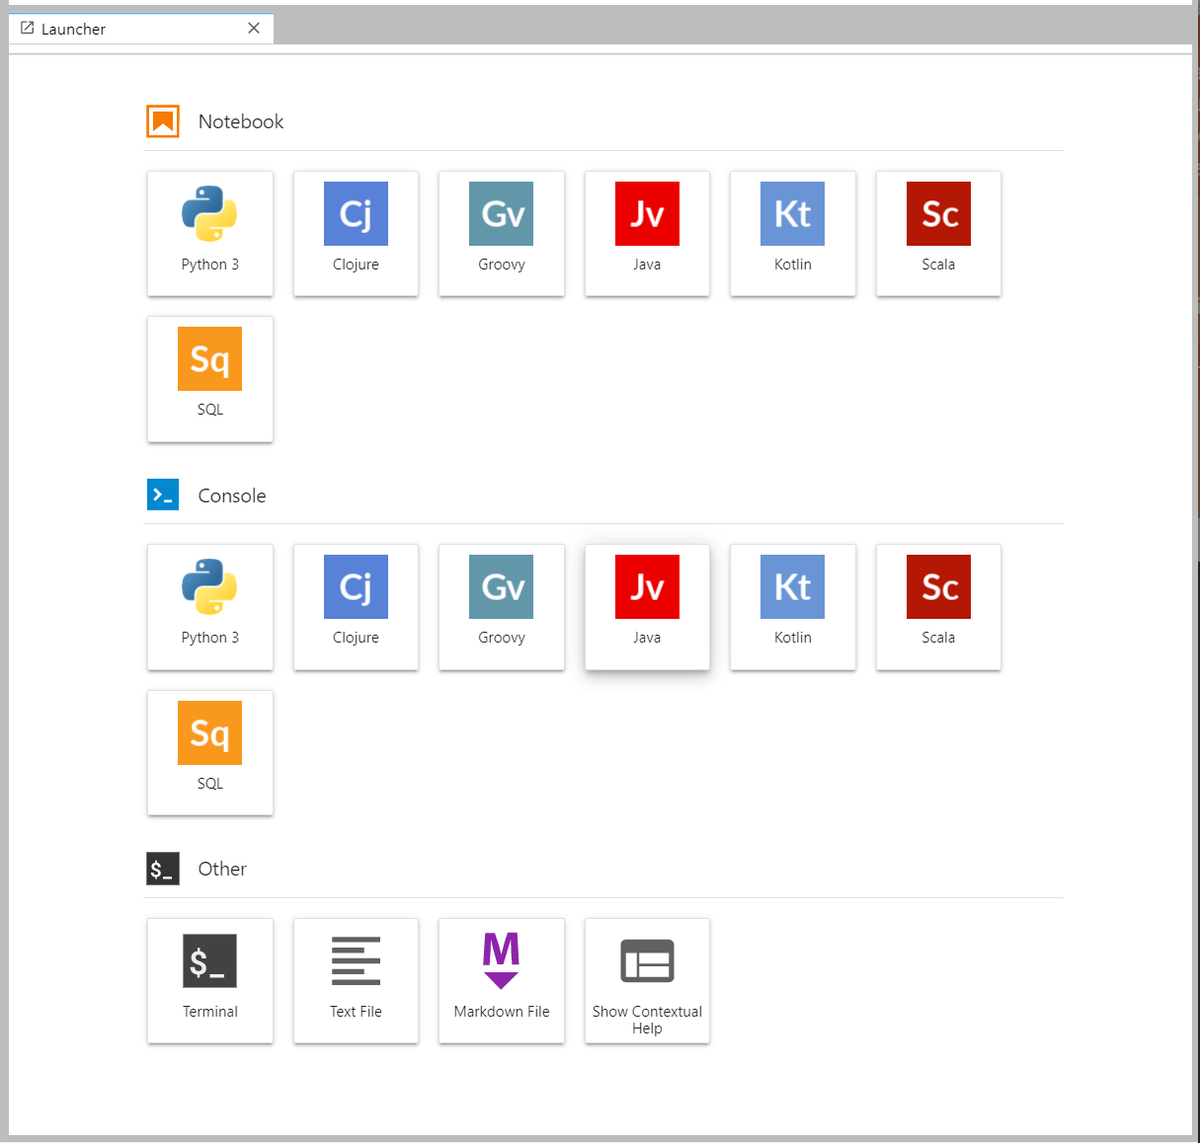
A JupyterHub instance has been deployed for your use in this course. It provides access to a number of kernels including Python, Scala, Clojure, Groovy, Java, Kotlin, and SQL. It also has an extension installed that will allow you to access supporting resources running in the container, such as the Spark UI.
This document describes:
- How to register for an account and access the notebook interface
- How to use the built-in Jupyter Proxy to access supporting programs (such as the Apache Spark Web UI)
JupyterHub Access Instructions
To use the Jupyter instance provided for you in this course, you will need to:
- Register for a GitLab account
- Use your GitLab credentials to login to JupyterHub
- Configure the file permissions for your server (only needs to be performed once)
1. Register for a GitLab Account
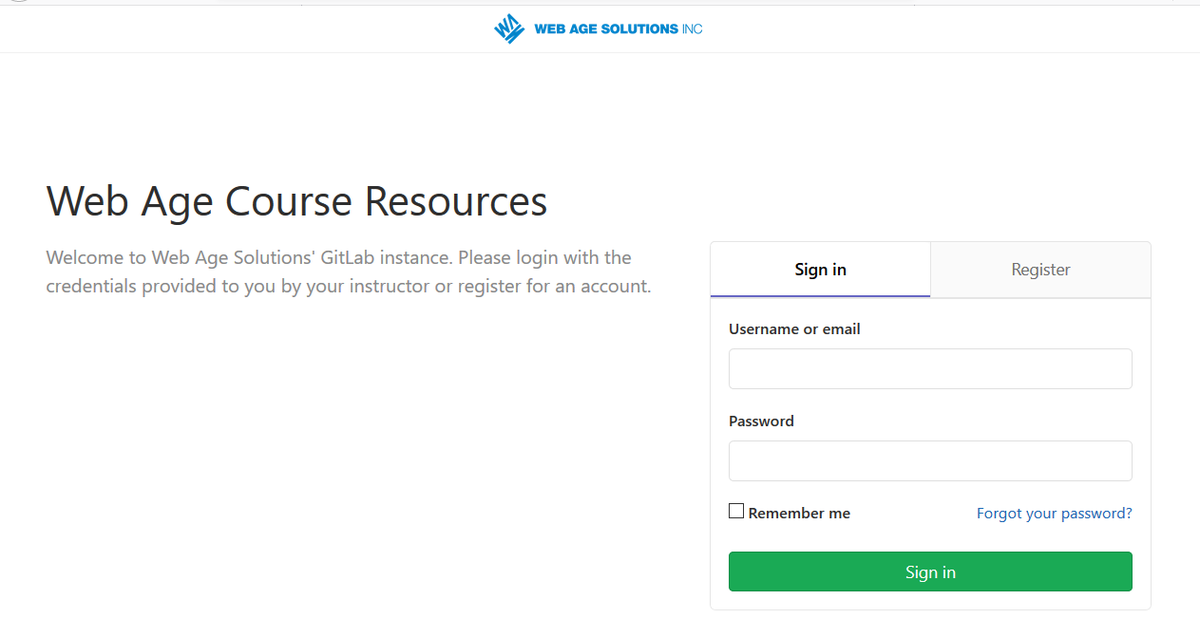
- To access the hosted environment, navigate to the Web Age GitLab instance at http://code.webage.oak-tree.tech.
- Click on the "Register" button and provide the username, email, and password you would like to use for your account.
2. Login to JupyterHub with GitLab
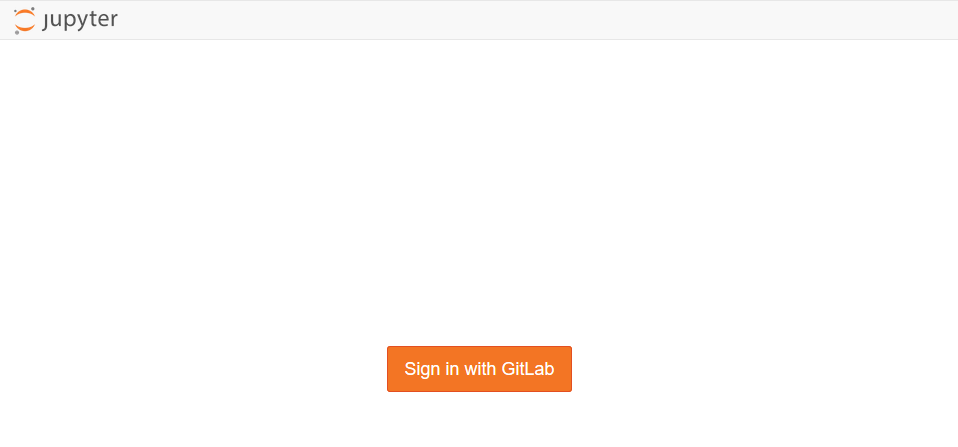
- Once you have created your account, go to the Web Age JupyterHub instance at https://hub.webage.centerville.oak-tree.tech.
- Click on the "Sign in with GitLab" button. This will redirect you to GitLab and prompt you to enter the credentials you created in Step 1.
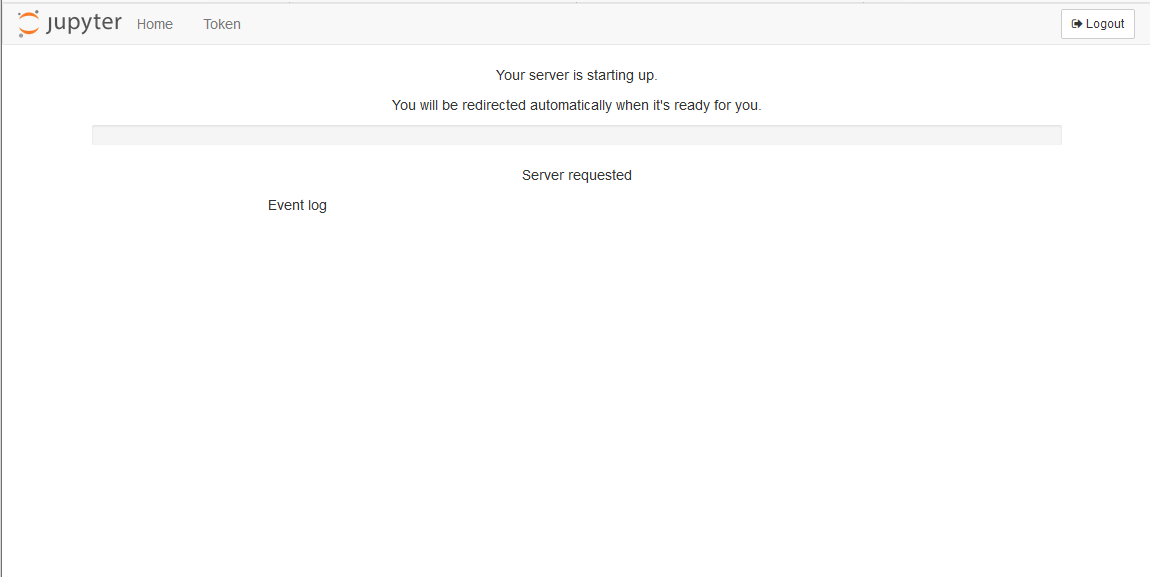
- After entering your username and password, click on the "Sign in" button. You will be redirected back to JupyterHub, where you will see a "Your Server is Starting Up" loading message and progress bar.
- After your server starts, you will be redirected to the JupyterLab launcher.
3. Configure file permissions
When your jupyter server starts, click on the "Terminal" launcher under the "Other" section. This will open a terminal instance within the container. Type the commands in the code listing.
# Change to the root of the volume mount
cd /home/

# Set the owner of the home directory to jovyan:analytics
sudo chown -R jovyan:analytics /home/jovyan

# Return to working directory
cd /home/jovyan/work
Accessing the Apache Spark Web UI
The proxy URL root is
http://hub.webage.centerville.oak-tree.tech/user/{{ username }}/proxy/
Different ports can be accessed by appending the port number after the root URL. The Spark Web UI typically runs on port 4040. If you have a Spark instance running, you should be able to access the web interface at a URL similar to the one below:
http://{{ jupyerhub-domain }}/user/{{ username }}/proxy/4040/jobs/
Example:
https://hub.example.com/user/roakes/proxy/4040/jobs/. Note the trailing slash after jobs/. If not present, JupyterHub will not route the request correctly and you will get a 404 error.

Comments
Loading
No results found