Getting Started with Sonador
What is Sonador?
Sonador is an open source cloud platform for medical imaging visualization and research. It provides a foundation for AI application development and for building systems that solve difficult clinical problems.
The platform is composed of tools to:
- Securely store medical images so that they can be queried, retrieved, and shared; greatly simplifying medical data exchange.
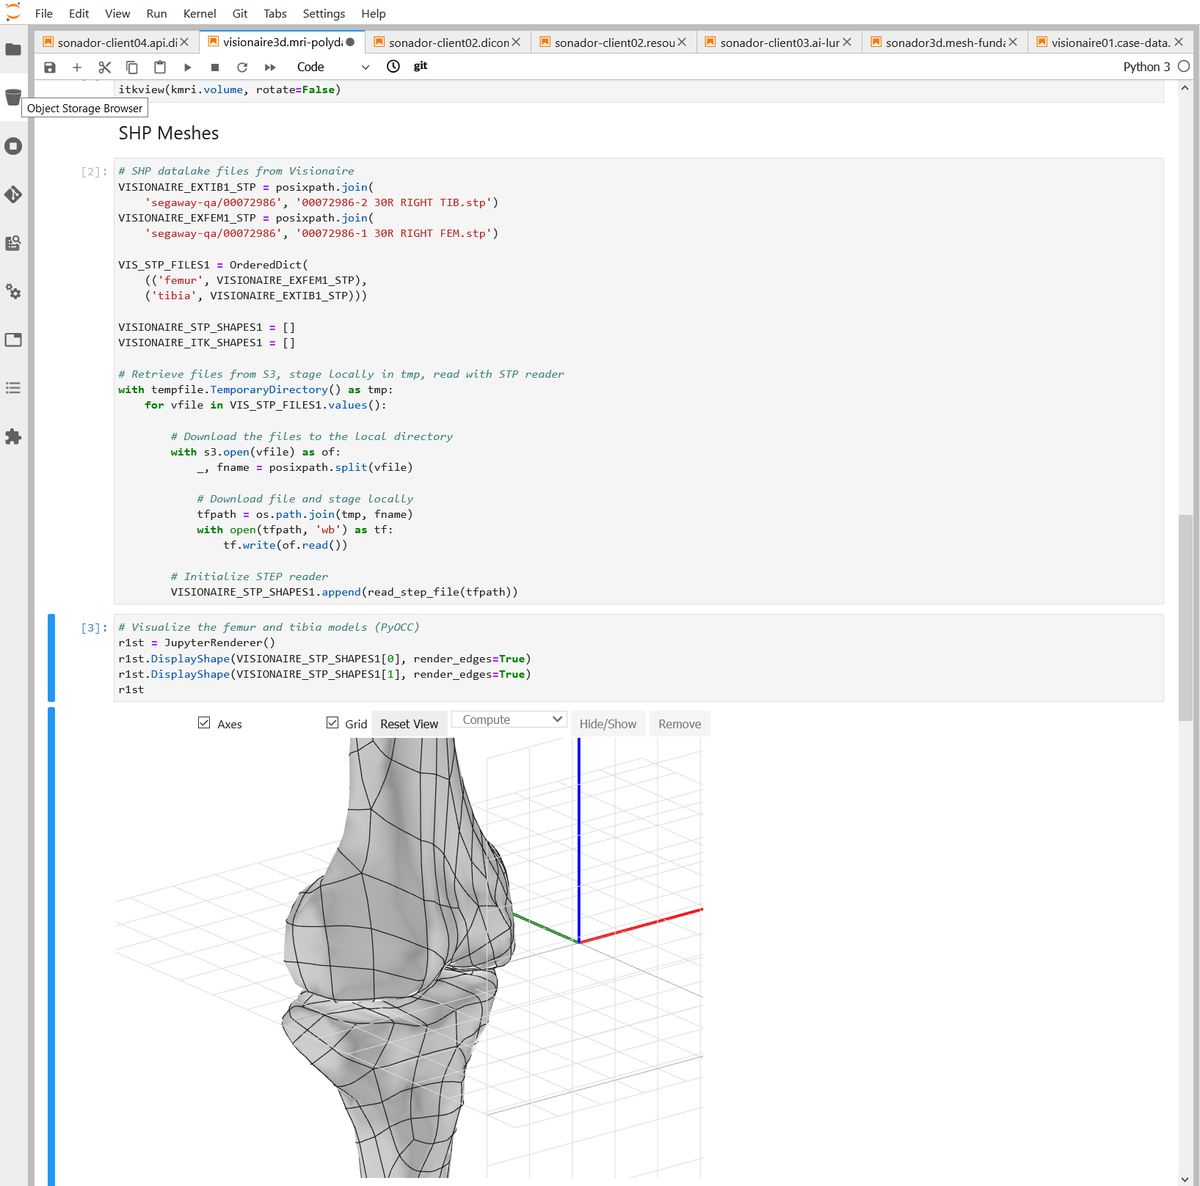
- Provide software libraries which can be used to work with imaging meta and pixel data, three-dimensional representations of the medical images, and interface with machine learning libraries to help with the creation of artificial intelligence applications.
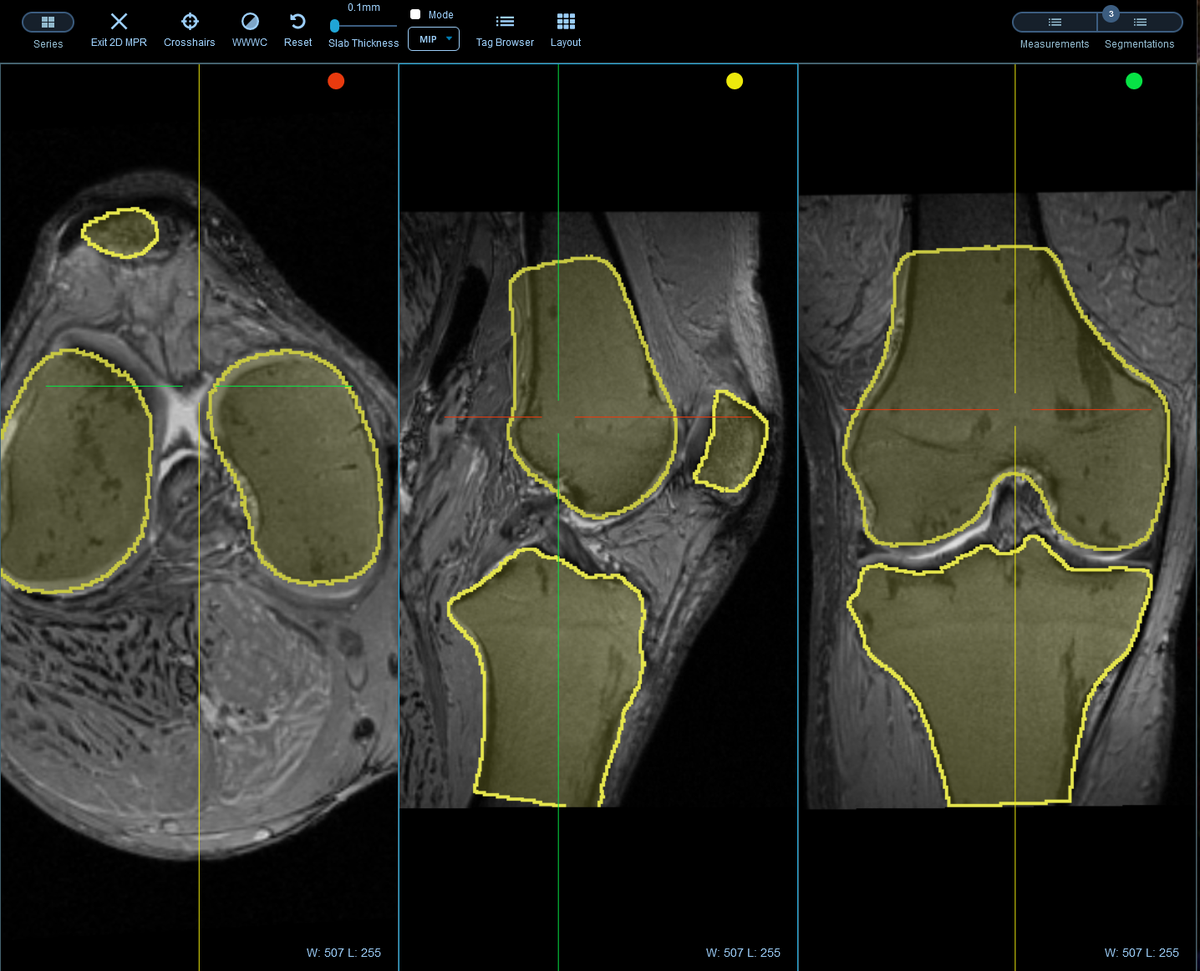
- Integrate with open source programs such as the Open Health Imaging Foundation Viewer and 3D Slicer to build medical imaging workflows for segmentation, anatomical landmarking, procedure planning, virtual implantation, component and device design, and three-dimensional printing.
- Provide ready to use Docker images for applications such as JupyterLab, Apache AirFlow, Apache Kafka, and other tools to enable the creation of analytic applications which use medical imaging data.
- Demonstrate how to build clinical applications on top of Sonador through examples and case-studies.
Container Development Environment
To enable people to get up and running quickly with Sonador, Oak-Tree maintains a container based development environment. To simplify deployment , we provide container images and a set of manifests for Docker Compose along with a reference configuration for the system. Manifests showing the configuration for a production deployment to Kubernetes are located in the same repository.
In this tutorial, we will deploy a basic Sonador environment that can be used to test-drive the platform and become familiar with its components. This will involve:
- Installing Docker Desktop and the other dependencies in order to run Sonador.
- Cloning the development environment repository to a local machine and using Docker Compose to create a basic deployment.
- Using the Sonador command line tools to interface with the Sonador web application and ensure that the environment is correctly configured.
- Clone the Sonador Examples repository and load the "Getting Started" notebook, which shows how to interface with the Sonador server and database (Orthanc image server), upload DICOM files, and fetch pixel data in a variety of formats.
This tutorial assumes that you are familiar with containers, Docker, and Docker Compose. For additional information about using Docker for software development, please refer to Container Driven Development and the "First Steps" and "Software Development" resources on the Engineering of Oak-Tree page.
Architecture and Components
Sonador is designed as a cloud native application that provides microservices for medical images, file storage, ETL, and data streaming. It can be deployed to public cloud, on-premise within a hospital or clinic, within edge, or for development. This article focuses on the deployment of a development environment via Docker Compose.

Public Cloud: Centralized deployment for scalable collaboration, AI execution, and shared review under enterprise governance.

On-Premise: On-premise deployment aligned with hospital IT, PACS integration, and local data governance.

Edge: Deployments near patient care (OR/ICU0 for low latency, local inference, and local data governance.

Development: Lightweight environments for development and testing using production-aligned interfaces and data models.

Sonador uses the following open source components:
Sonador Web Application and Viewer: system which is used to integrate and secure medical imaging resources, also hosts the Sonador Viewer instance for the platform.
The Sonador Viewer is an extensible DICOM viewer written in JavaScript using Cornerstone3D and Three.js.
Orthanc: light-weight and extensible PACS server which provides a REST and DICOMweb interface for medical image management.
S3 Storage Plugin: plugin for the Orthanc that allows for it to use MinIO or Amazon S3 for storing medical image pixel data, attachments, and other associated files.
PostgreSQL Plugin: plugin for Orthanc that allows for it to use PostgreSQL as a metadata cache
Advanced Authentication Plugin: used by Orthanc to communicate with the Sonador web application and authorize access to medical imaging resources.
Sonador Python Plugin: used for synchronizing the imaging server configuration with Sonador and integrating Orthanc with Kafka.
PostgreSQL: a performant relational database that provides an indexed cache for imaging metadata and provides query/search capabilities.
Kafka: a distributed streaming platform that can be used for building reactive data processing applications and integrating Kafka with other systems.
MinIO: a highly scalable S3 compatible storage that is used for storing the binary data for the medical images and associated files.
Any S3, Windows Azure, or Google Storage compatible object store can be used with Sonador. RustFS and Garage are commonly used in development as alternatives to MinIO, while Ceph is commonly used in production deployments.
JupyterLab provides an interactive, notebook-based workspace within Sonador for exploring imaging data, running analyses, and prototyping workflows directly against the platform’s APIs.
AirFlow: open source ETL platform for data processing, used by the Sonador ecosystem to provide AI Orchestrator capabilities.
RabbitMQ: AMQP messaging broker and the management console, used by AirFlow to coordinate background tasks.
System Requirements and Prerequisites
Local machine requirements:
- Admin privileges
- 120GB+ of available storage (split between Docker images and medical imaging data)
- 8GB+ RAM recommended
Linux:
docker.ioanddocker-composeinstalled. We recommend that you use the Docker provided by your Linux distribution rather than Docker CE if you are using Linux.- Git
MacOS:
- Docker Desktop installed.
- Git
Windows 10:
- WSL 2 (Linux Kernal) backend configured on your machine with Git installed.
- (Alternative) Docker Desktop installed.
Sonador Quickstart
Step 1. Clone the repository
From your BASH command line, clone the Oak-Tree Imaging Development Environment repository to your machine.
$ git clone https://code.oak-tree.tech/oak-tree/medical-imaging/imaging-development-env.git
$ cd imaging-development-env/
Step 2. Configure DNS
The following lines need to be added to the /etc/hosts file of the development machine to allow for traffic to resolve to the correct containers:
$ sudo vim /etc/hosts
::1     object-storage orthanc imaging kafka
::1     imaging.local
127.0.0.1 object-storage orthanc imaging
127.0.0.1 imaging.local
Windows only
On Windows, the /etc/hosts file is located at C:\Windows\System32\drivers\etc\hosts. If this path does not exist, create the \etc\ directory and create a next text file called hosts inside of it.
Open Notepad as an Administrator (this can be done by right clicking on the program and choosing "Open as Administrator") and edit C:\Windows\System32\drivers\etc\hosts to include the following lines:
# Sonador DNS for ipv4 & ipv6
::1 object-storage orthanc imaging
::1 imaging.local
127.0.0.1 object-storage orthanc imaging
127.0.0.1 imaging.local
Save the file and proceed to the next step for deploying the containers.
Step 3. Deploy Docker Compose
Inside the imaging environment folder which you cloned in the previous step, run the following command:
$ docker-compose -f compose/core.yaml -f compose/pacs-secure.yaml -f compose/sonador.yaml up -d
The following output should be displayed:
Creating network "compose_default" with the default driver
Creating compose_object-storage_1 ... done
Creating compose_kafka_1          ... done
Creating compose_sonador-db_1     ... done
Creating compose_nginx_1          ... done
Creating compose_zookeeper_1      ... done
Creating compose_orthanc_1        ... done
Creating compose_orthanc-db_1     ... done
Creating compose_imaging_1        ... done
Step 4. Access Web UI and Configure Internal Port
Test to see if you can access the OHIF viewer in your browser.
The Sonador web application can be accessed via http://imaging.local:8070. The username/password for the environment are:
url: "http://imaging.local:8070"
username: "dev01"
password: "sonador@development-env"
Once authenticated, you should have a similar interface to the image below:
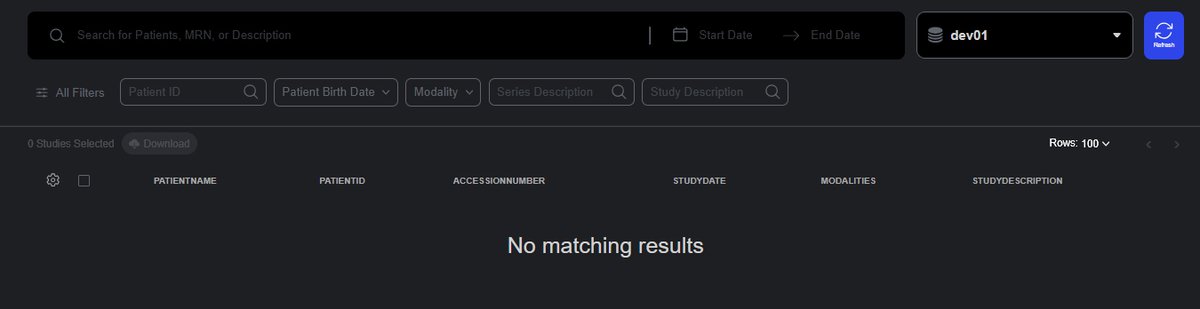
Troubleshoot: If the page refuses to load the UI and only a black screen is shown, restart the nginx container.Configure the Internal Port
Go to http://imaging.local:8070/admin/visionaire/pacsimagingserver/ and click on dev01.
At the bottom where it says Internal Port: input 8042 as the value and click SAVE.
Step 5. Deploy and Configure Analytics Environment
From another bash terminal, run the following command inside the imaging folder to deploy a JupyterLab instance that can be used to interact with Sonador:
$ docker-compose -f compose/analytics.yaml up
Important: The JupyterLab container image includes a set of Python tools and libraries for working with medical imaging data. It is large (over 11GB) and may take some time to download from Docker Hub and deploy.
Once the image has finished deploying you should see output similar to that below in your terminal. Pay special attention to the "token" value in the URL, as this will be required for you to access the JupyterLab interface.
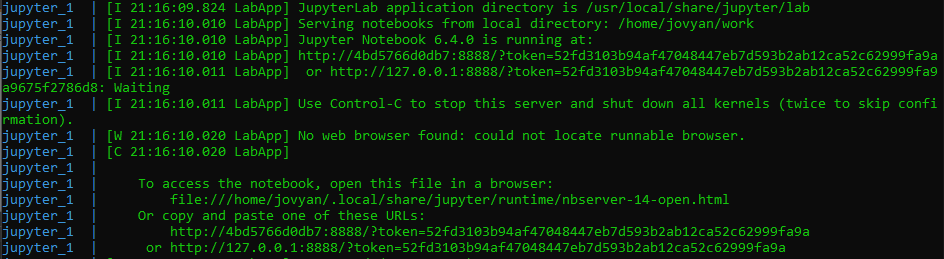
Copy the full token string at token=<TOKEN> and go to http://127.0.0.1:8888/ in your browser to configure a password. At the bottom of the page, paste in the token and define a password for authentication. Defining a password makes it easier to authenticate to JupyterLab in the future.
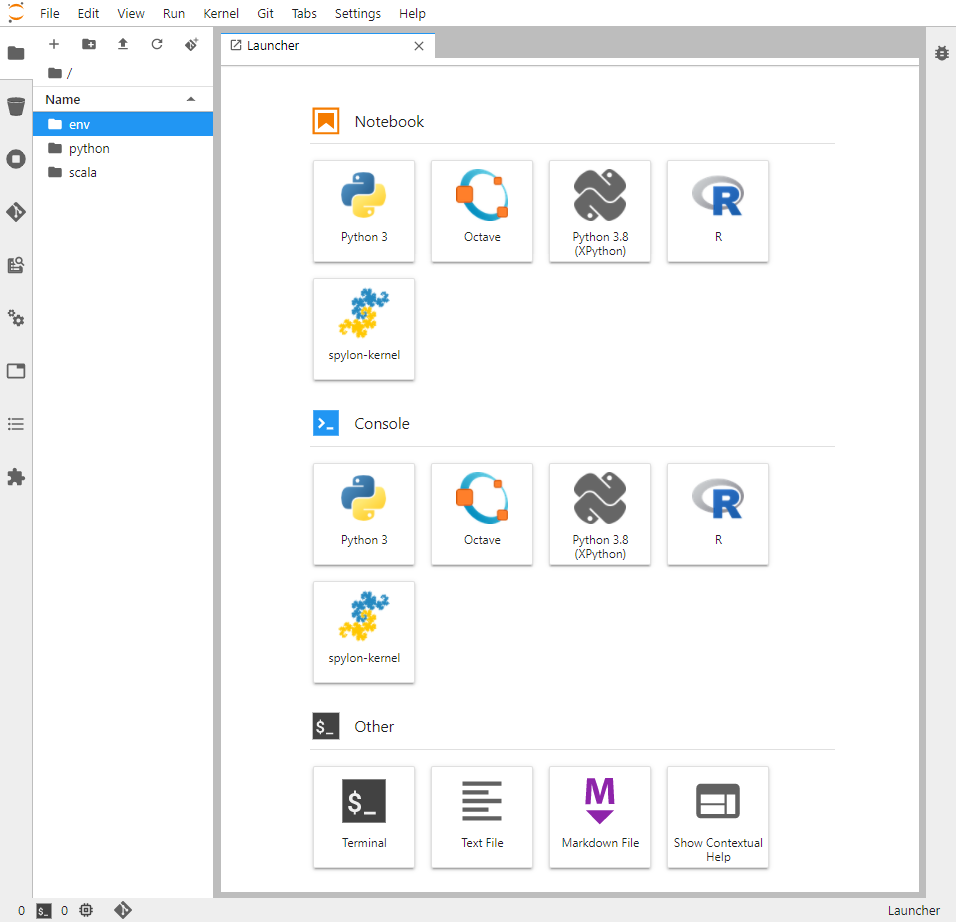
Upon entering the JuptyerLab interface, your view should be similar to the image below:
Step 6. Install the Sonador CLI
In the JupyterLab interface, open up a new terminal and clone the Sonador CLI repository:
$ git clone https://code.oak-tree.tech/oak-tree/medical-imaging/sonador-cli.git

$ cd sonador-cli/
The Sonador command line client uses environment variables to make it easier to provide connection and authentication parameters. The development environment includes a sample configuration.
Copy the environment variables to the terminal environment by "sourcing" the file:
$ source ../env/sonador.env
Use the Sonador CLI to ensure that the environment is properly configure by listing the imaging servers (Orthanc instances) associated with Sonador:
$ python sonador-cli.py pacs list
If everything is working, you should see the following output verifying that the services are connected:
ID     Imaging Server Name    Default Server    Hostname      Port  Description
-----  ---------------------  ----------------  ----------  ------  -----------------------------------------------------------------------------------
dev01  Orthanc-Dev            True              orthanc       8842  Default Orthanc instance configured for the Oak-Tree Sonador reference environment.
You now have a working local Sonador imaging environment!
Example Notebooks
Within the JuptyerLab terminal, clone the Sonador Examples repository to learn how to interact with the platform and manage medical images.
$ git clone https://code.oak-tree.tech/oak-tree/medical-imaging/sonador-examples.git
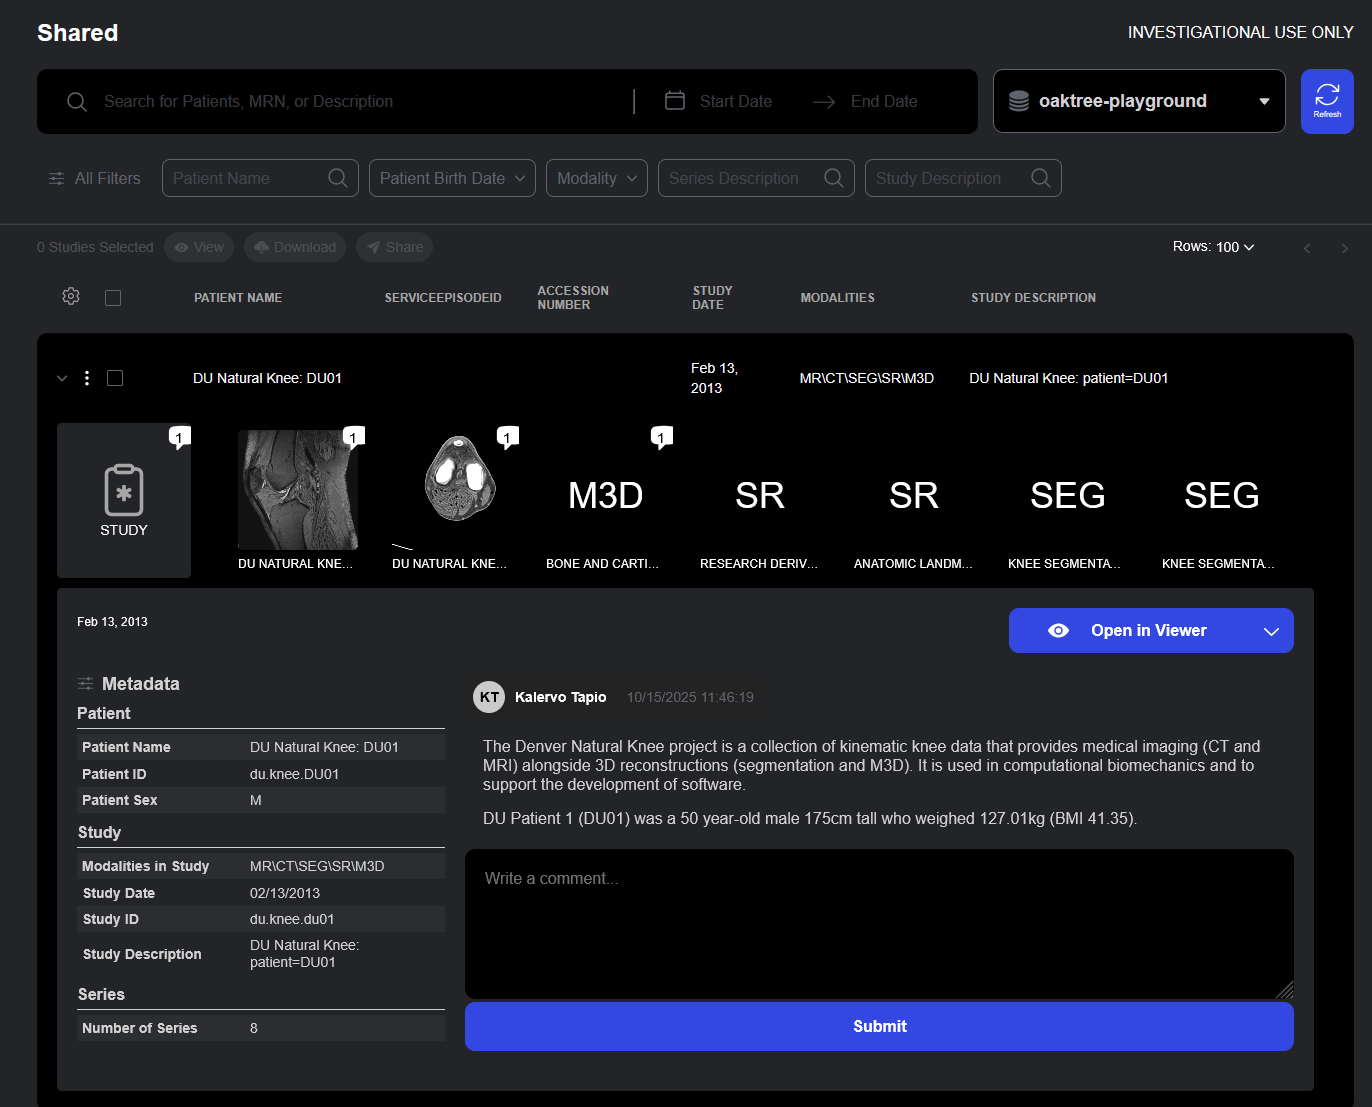
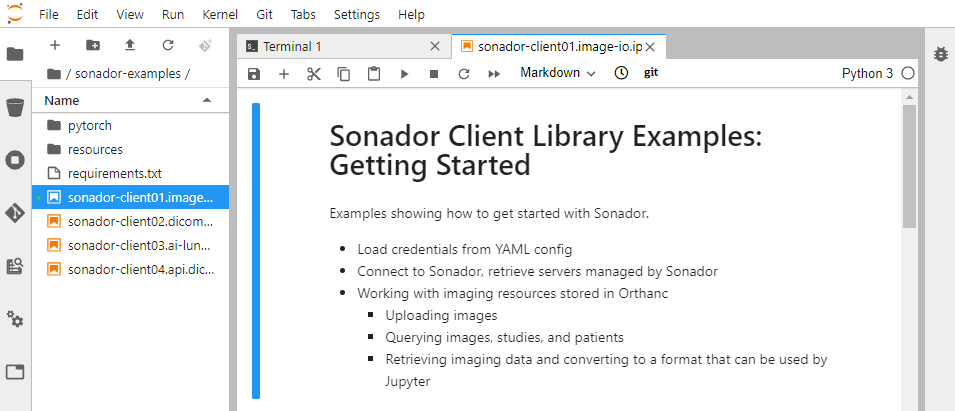
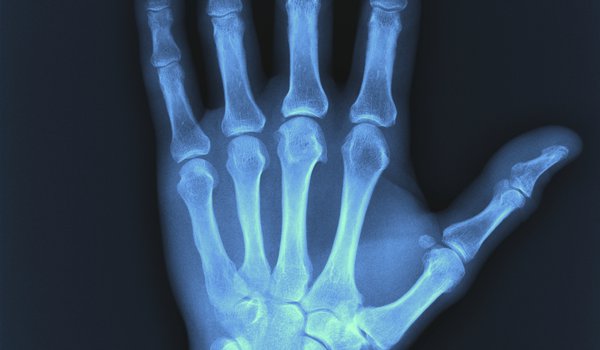
Use the JuptyerLab file browser to locate sonador-examples and load sonador-client01.image-io.ipynb. Follow the instructions in the notebook to upload a sample CT dataset to Sonador.
Once you have completed all instructions in the notebook, you can view the example CT study by opening http://imaging.local:8070 in your browser (or refreshing the page if you already have it open) and clicking on the C3N ... row in the "Study List."
Next Steps
Congratulations! You have a fully functional Sonador development environment to explore.


Comments
Loading
No results found